How to Build the Ultimate Nacho Platter: A Guide to Toppings and Techniques

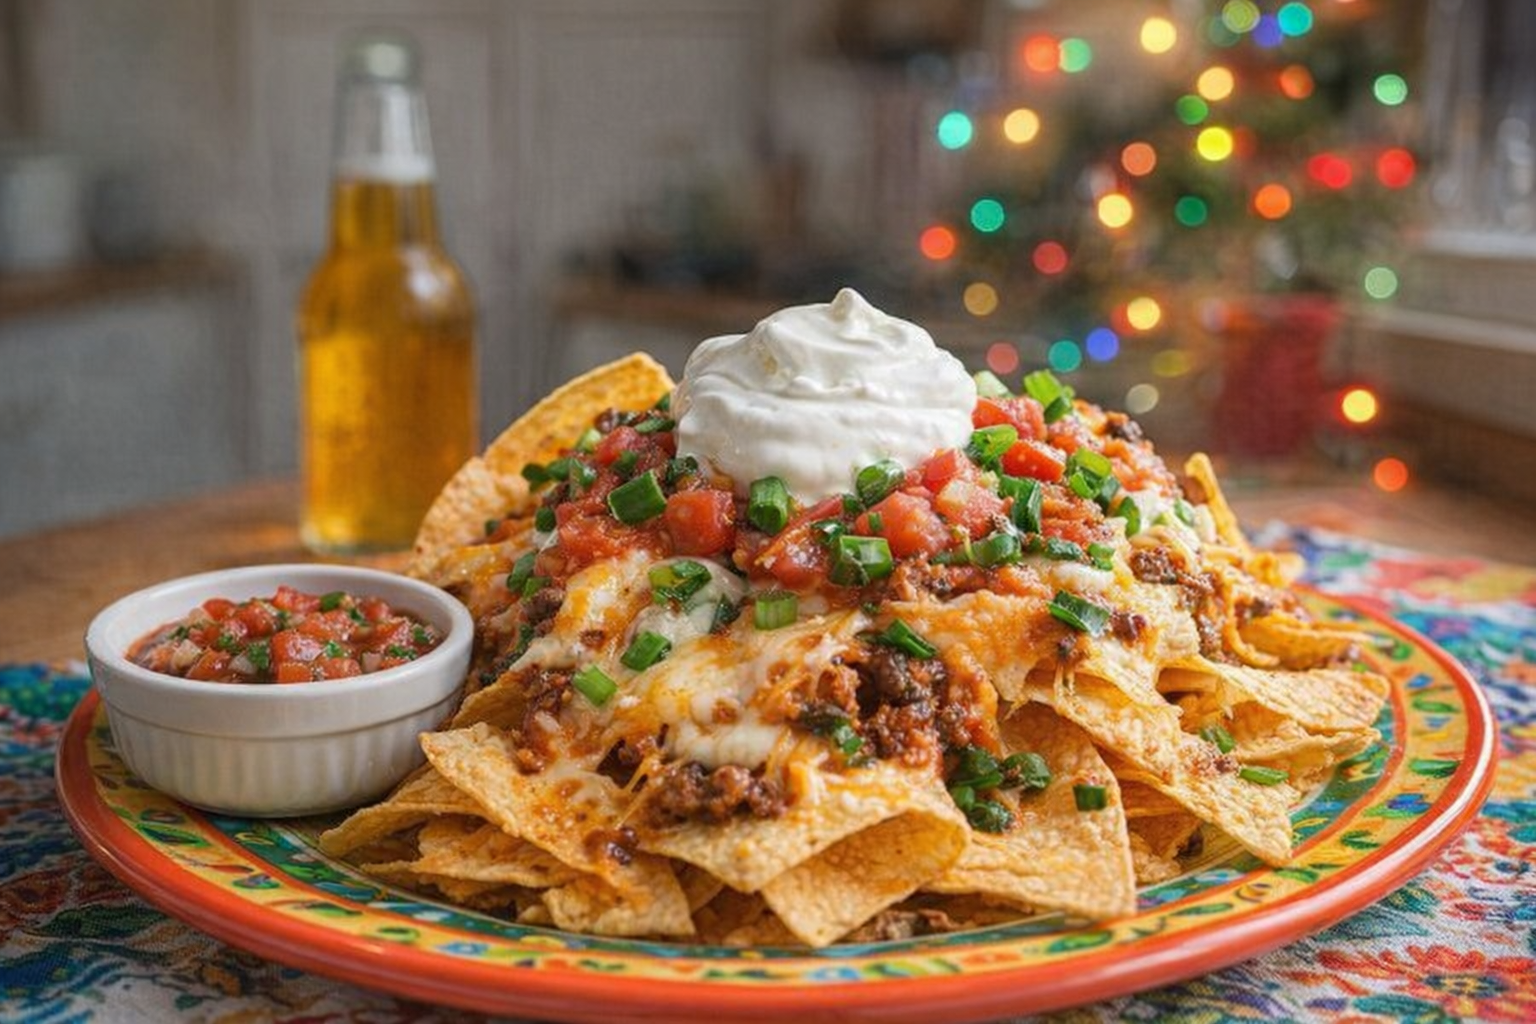
Nachos are more than just a pile of chips and cheese; they're a blank canvas for culinary creativity. The interplay of textures – the crisp chips, the molten cheese, the fresh toppings – creates a deeply satisfying experience. This guide focuses on selecting and preparing the best nacho toppings, ensuring a balanced and flavorful platter that caters to everyone's taste.
We'll explore classic combinations, unexpected twists, and essential techniques to elevate your nacho game. From mastering homemade salsa to understanding the nuances of different cheeses, this comprehensive guide provides the knowledge and inspiration to create nacho masterpieces.
Understanding Your Nacho Foundation: The Tortilla Chip
While toppings steal the show, the quality of your tortilla chips matters. Look for sturdy, restaurant-style chips that can withstand the weight of the toppings without becoming soggy. Avoid overly thin or brittle chips, as they're prone to breaking. Consider different chip flavors (lime, chili, or even blue corn) to add another layer of complexity, but ensure the flavor complements the toppings.
For a truly elevated experience, consider making your own tortilla chips. Cut corn tortillas into wedges, brush with oil, sprinkle with salt, and bake at 350°F (175°C) until golden brown and crispy. This allows for complete control over the flavor and texture.
Why Build Nachos This Way?
- Versatility: Nachos are incredibly adaptable. This guide provides a framework for endless flavor combinations, allowing you to customize your platter based on dietary needs, preferences, and available ingredients.
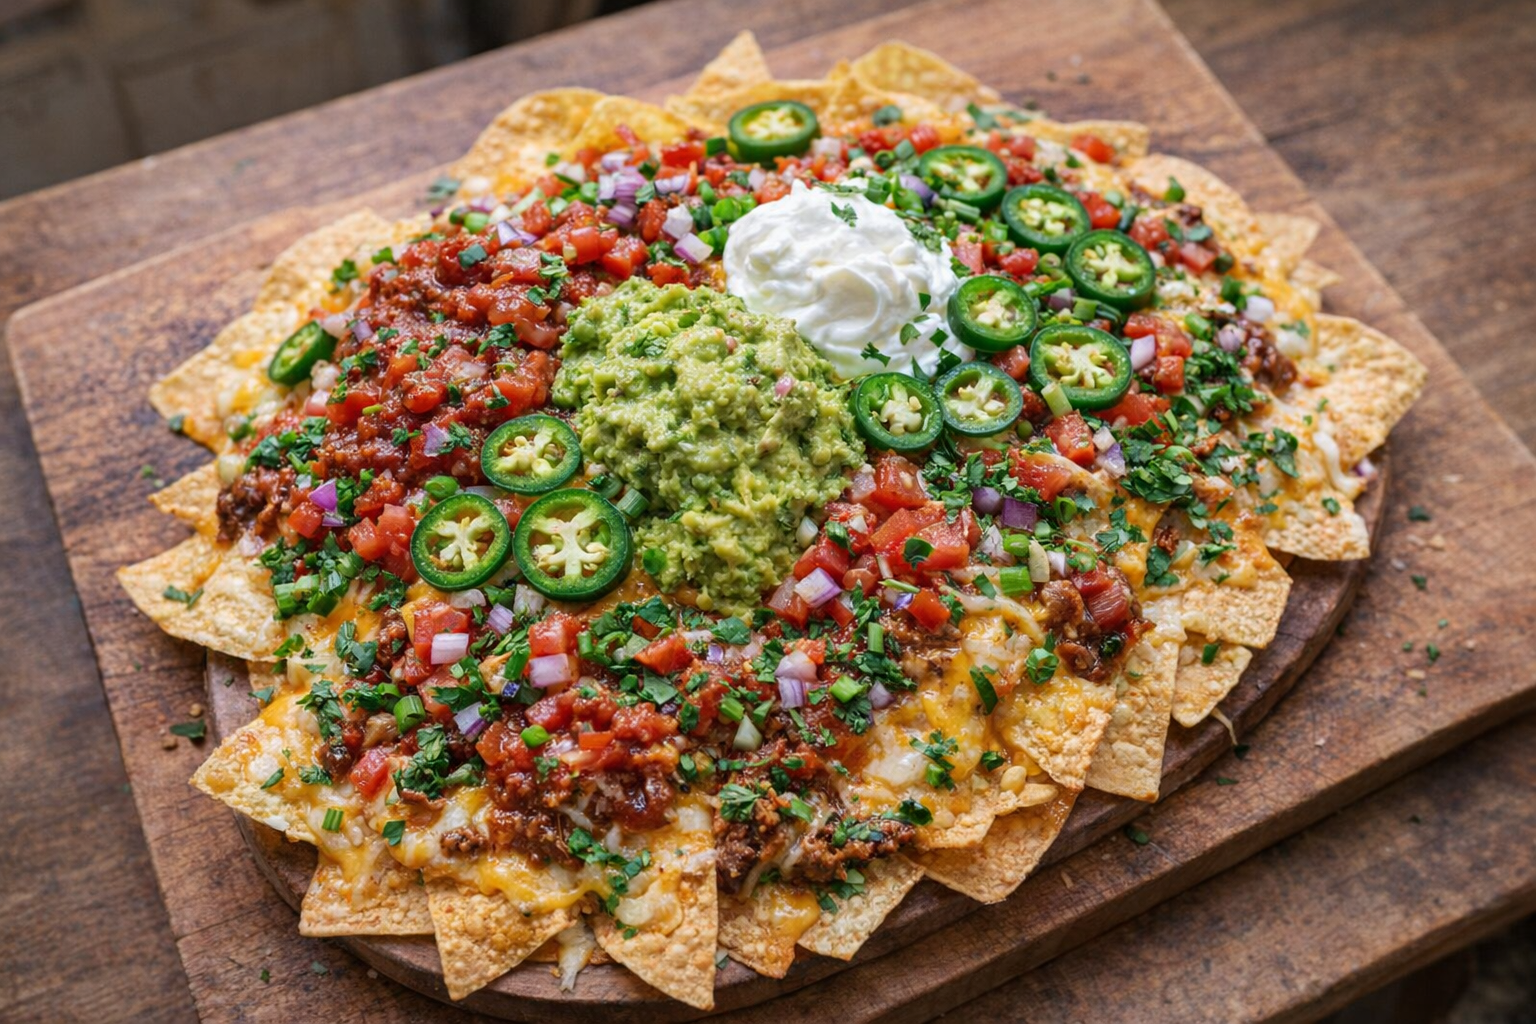
- Flavor Depth: By layering toppings strategically, you can achieve a symphony of flavors in every bite. The interplay of salty, spicy, creamy, and fresh elements creates a truly unforgettable experience.
- Convenience: While seemingly simple, the right techniques will keep your chips crunchy and your toppings distributed evenly. Whether you're hosting a party or just enjoying a snack, this guide will streamline the process.
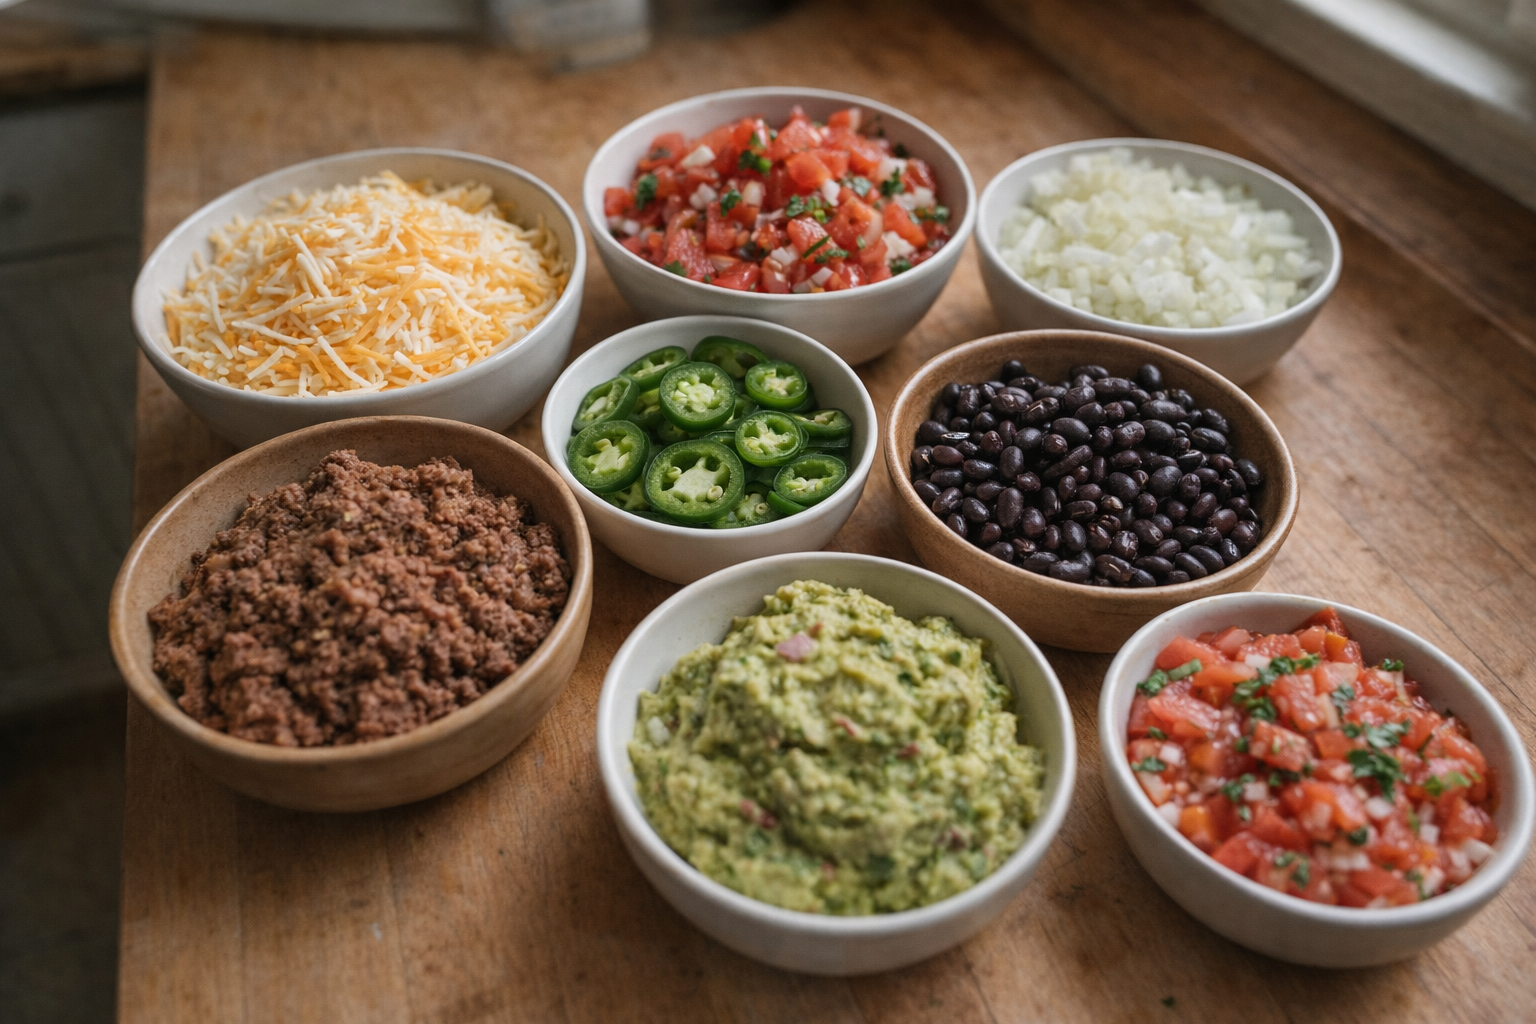
Preparation (Mise en Place)
Proper preparation is essential for assembling a successful nacho platter. This involves prepping your ingredients and ensuring you have the right tools.
- Cheese: Shred your cheese fresh for optimal melting. Pre-shredded cheese often contains cellulose, which inhibits melting and can result in a grainy texture.
- Vegetables: Dice all vegetables (tomatoes, onions, jalapenos, etc.) into uniform sizes for even distribution and consistent flavor.
- Proteins: Cook and season your chosen protein (ground beef, chicken, beans, etc.) ahead of time. Keep warm until ready to assemble.
Essential Tools:
- Large Baking Sheet or Oven-Safe Platter: Provides ample space for layering toppings and ensures even heating.
- Cheese Grater: For freshly grated cheese. A box grater or rotary grater works well.
- Chef's Knife: For dicing vegetables and preparing other toppings.
- Spatula or Spoon: For distributing toppings evenly.
The Cooking Methods: Assembling and Baking Your Nachos
The key to perfect nachos is layering the ingredients in a way that ensures even cheese distribution and prevents soggy chips. We'll explore one foundational method.
Method 1: Oven-Baked Nachos
Ingredients:
- Tortilla Chips: 1 large bag (approx. 12-16 oz / 340-450g)
- Shredded Cheese: 2-3 cups (approx. 200-300g) (Cheddar, Monterey Jack, or a blend)
- Cooked Ground Beef or Chicken: 1-2 cups (approx. 150-300g), seasoned to taste
- Salsa or Pico de Gallo: 1 cup (approx. 240ml)
- Sour Cream: 1 cup (approx. 240ml)
- Guacamole or Avocado: 1 cup (approx. 240ml), mashed or diced
- Jalapenos: Sliced, to taste
- Black Olives: Sliced, to taste
- Green Onions: Chopped, for garnish
Instructions:
- Preheat Oven: Preheat your oven to 350°F (175°C).
- Layer the Chips: Spread a single layer of tortilla chips evenly across the baking sheet or platter. Avoid overcrowding.
- Add Cheese: Sprinkle approximately half of the shredded cheese evenly over the chips. This base layer will help bind the toppings together.
- Add Protein and Other Toppings: Distribute the cooked ground beef or chicken, salsa, jalapenos, and black olives evenly over the cheese layer. Consider small clusters of each topping to offer variety in each bite.
- Add Remaining Cheese: Sprinkle the remaining shredded cheese over the toppings. This final layer will create a cheesy, gooey topping.
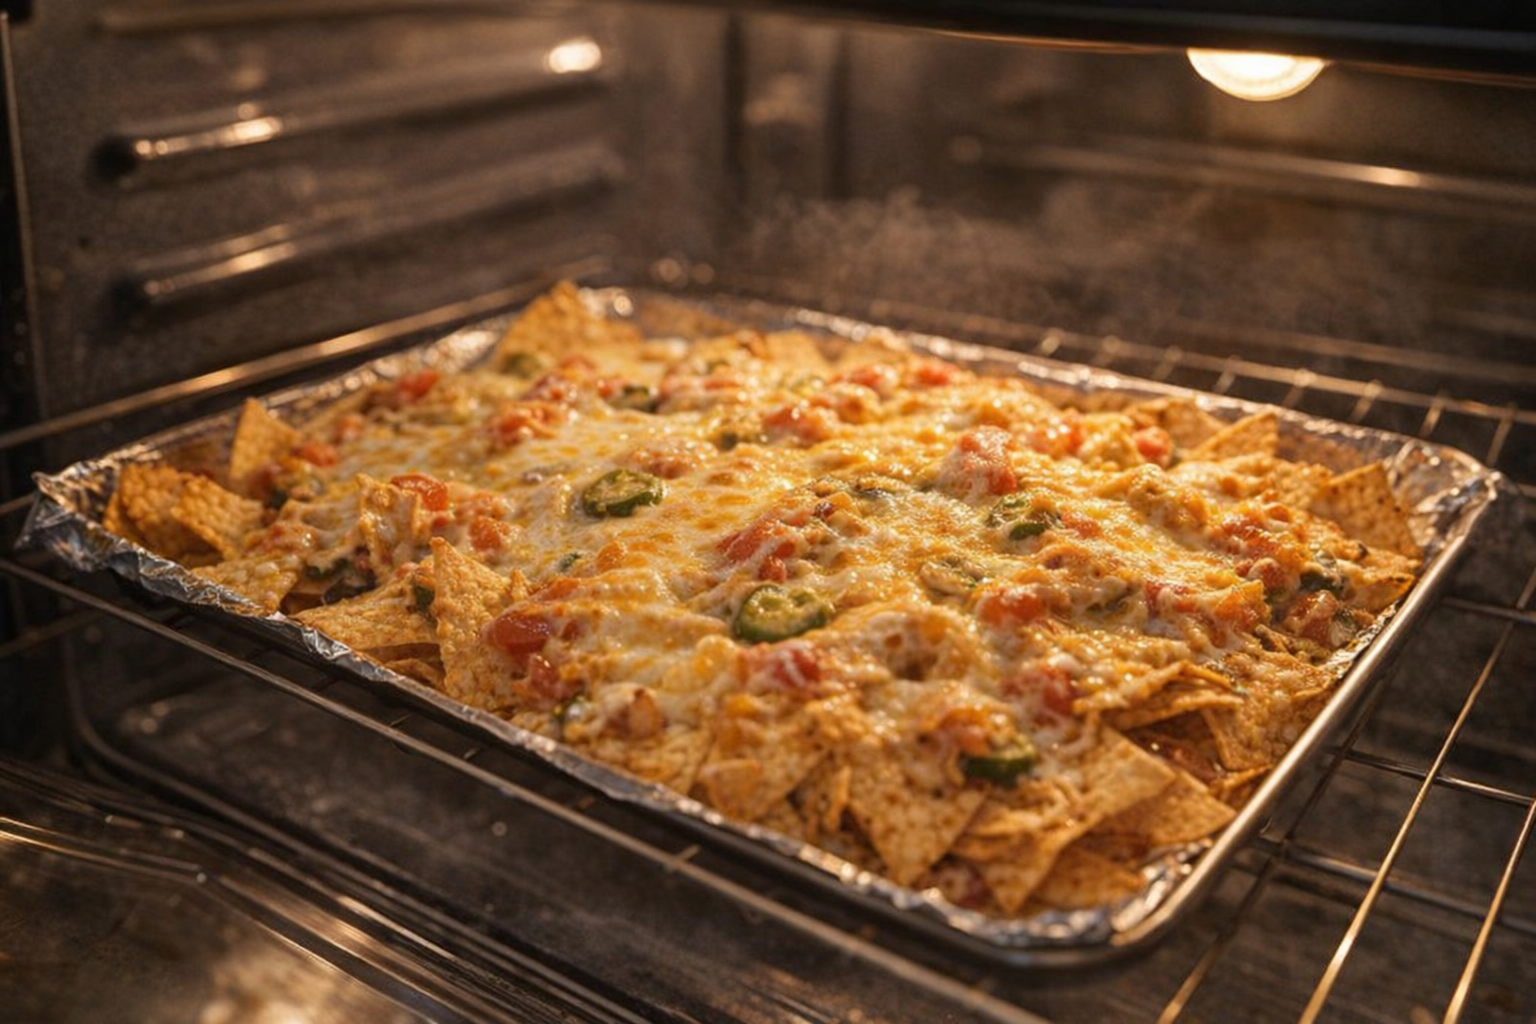
- Bake: Bake in the preheated oven for 5-10 minutes, or until the cheese is fully melted and bubbly. Listen for the gentle sizzle of the cheese as it melts.
- Add Cold Toppings: Remove the nachos from the oven and let cool slightly. Top with sour cream, guacamole (or avocado), and green onions. Adding these cold toppings after baking prevents them from becoming soggy or losing their freshness. The contrast in temperature enhances the overall experience.
- Serve Immediately: Serve the nachos immediately while the cheese is still warm and melted.
Cooking Time & Doneness Guide:
- Baking Time: 5-10 minutes at 350°F (175°C).
- Internal Temperature: Not applicable (we're looking for melted cheese).
Visual Cues
The cheese should be completely melted, bubbly, and slightly golden brown. The chips may be slightly toasted around the edges.
Tips for Perfection:
- Avoid Overcrowding: Overcrowding the baking sheet will result in uneven cooking and soggy chips. Work in batches if necessary.
- Use High-Quality Cheese: The quality of the cheese significantly impacts the flavor and texture of the nachos. Choose a cheese that melts well and has a good flavor profile.
- Don't Overbake: Overbaking will result in dry, burnt cheese and hard chips. Keep a close eye on the nachos and remove them from the oven as soon as the cheese is melted.
- Pre-Warm Protein: Ensuring your protein component is heated prior to adding it to your chips will shorten the baking time.
Storage & Reheating:
Leftover nachos are best consumed immediately. However, if you have leftovers, store them in an airtight container in the refrigerator. Reheating can be tricky, as the chips tend to become soggy.
The best way to reheat nachos is in a preheated oven at 300°F (150°C) for a few minutes, until the cheese is melted and the chips are slightly crispy. Alternatively, you can reheat them in a microwave, but be aware that the chips will likely become soggy. Remove the cold toppings before reheating and add them fresh after warming.
Serving Suggestions:
- As an Appetizer: Serve as a shared appetizer at a party or gathering.
- As a Main Course: Serve as a casual main course for a quick and easy meal.
- With a Side Salad: Serve with a side salad to balance the richness of the nachos.
- With Your Favorite Drinks: Serve with your favorite beverages, such as beer, margaritas, or soda.
💡 Pro Tips
- Layer your chips and cheese in two or three thin tiers rather than one large pile to ensure every chip is evenly coated.
- Grate your cheese fresh from a block to ensure a smoother melt and avoid the waxy coating found on pre-shredded varieties.
- Keep wet toppings like salsa and sour cream on the side or add them at the very last second to prevent the chips from becoming soggy.
- Pre-cook and drain any protein toppings to remove excess moisture and fat before layering them onto the platter.
- Bake the platter at 400°F for just a few minutes until the cheese is bubbly to achieve a perfect melt without burning the chips.
Frequently Asked Questions
To prevent soggy nachos, start with sturdy chips and layer your toppings strategically. Place heavier, wetter ingredients like beans or meat at the bottom, followed by cheese, and then lighter toppings like vegetables and sour cream. You can also broil the cheese-covered chips for a minute or two to create a protective barrier before adding the remaining toppings.
When choosing a store-bought salsa, look for options with fresh ingredients and minimal preservatives. Opt for a salsa that complements your other toppings – a chunky salsa works well with creamy toppings, while a smoother salsa pairs nicely with spicier elements. Taste test a few different brands to find your favorite!
While freshly shredded cheese is ideal for melting, you can use pre-shredded cheese in a pinch. To improve melting, toss the pre-shredded cheese with a tablespoon of cornstarch before layering it on the chips. This will help prevent clumping and promote smoother melting.
Leftover nacho toppings can be repurposed in various ways. Use leftover cooked meat or beans in tacos, burritos, or salads. Diced vegetables can be added to omelets, soups, or stews. Store leftover toppings in airtight containers in the refrigerator for up to 3 days.